after a couple days the concrete drawing was ready to release from the table and flip it over.

this is the scary part. what if the release oil doesn't work? what if there was too much, or not enough?
lucky for us it worked just fine. this is the table after the drawing was removed. some residue left, but nothing major.
then the metal frame gets angle grinded off. this frame will be used on site to mark out the area for install.
then we carefully reveal the lifters we set in the drawing earlier
the plastic cap comes out and behind it is a threaded insert that can receive the lifters.
we transfer the cut lines up the side of the drawing and we are ready for the cutting.
john uses the fork lift to carefully place the drawing on the special cutting table.
before any cutting is done the saw blade is lined up at both ends of the cut.
then the saw is run across the concrete cutting in just a bit, 15 mm or so.
with each pass the blade gets set further down each time
until the saw blade is as far in as it will go. this leaves us with 10 mm or so at the bottom left.
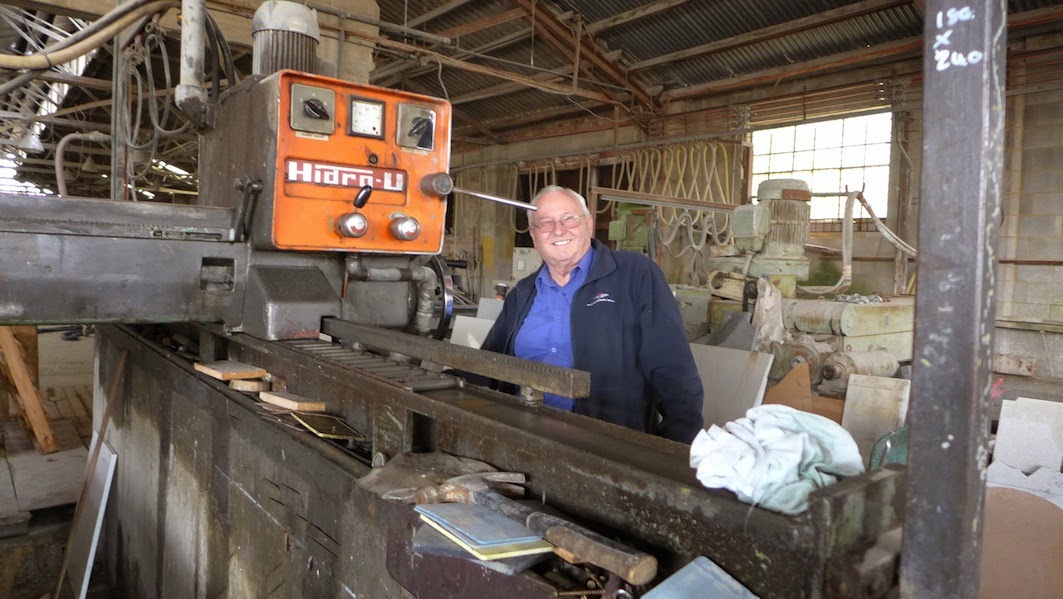
charlie is our saw operator, telling us how to set it all up and operating the beautiful machine with skill. i think he is having fun.
once one cut is done the table can be swiveled around so we can line up for the next cut.
and again we go through the same process cutting deeper with each pass.
then the lifters are set in place, and a special tool is used to break the remaining 10 mm at the bottom of the cut.
the chains are hooked on the lifters
it is then lifted up off the table
deb gives the base a quick grind with the angle grinder, and then it is placed on the pallet.
this is the close up of the cross section of the tile
after all that deb and i spent some time cleaning up the surface of each tile, getting them ready to be packed up.


No comments:
Post a Comment