Showing posts with label planning. Show all posts

Saturday, December 19, 2015

also in the studio...

deb and i have been busy preparing for a concept presentation for a public artwork. this involves brainstorming ideas to fit the brief, writing a concept, getting quotes to make a budget, and working on a timeline for the project.


it also means making a model of the artwork and preparing for the concept presentation where we have to pitch our idea to the panel.


our idea is called 'the space between' and it is a concept for a public artwork that recognises practices of forced adoption. 


the idea being that we use black granite, and get a large 1.5 m x 2 m rock and get it split into 2 parts. these parts are set close to each other, highlighting the fact that they used to be one unit, like mother and child, or family and individual. there will also be a large soft round boulder that will be a seat for people to sit and and share their stories and support each other.


the artwork will be located near the river torrens in adelaide, and we have just found out that we were successful in our pitch. so that means that at the start of 2016 deb and i will be busy wandering around a quarry looking for the perfect stones for the job. we are very excited to be working on this project.

Sunday, April 19, 2015

concrete drawing 3 - foam template

now that concrete drawing 2 is complete it is time to move onto the last one concrete drawing 3. this one is the largest, at 3 m x 2.4 m. it is also extra complicated because a 4 legged metal structure will come up through the drawing, so we need to plan for the placement of that unit from the beginning.
 

we start by setting up our foam sheets that have been cut to size. we plan out the location of the metal structure and plan the cut lines and image in relation to each other.


to do this we use an old school overhead projector. this enables us to enlarge our drawings up to scale and try a few different ideas out before we commit to drawing on the real template.


then when we are happy we begin by drawing on the foam using a texter and the overhead image to guide us,


we stop and look and plan, and make sure the balance of the image is working


and we keep going colouring in the black area to separate it from the white, this will make it easier for us when we transfer it to the casting area. in the end the image will be black where the black is and a dark blue where the white is, so it will look quite different.


after a morning of planning and a couple hours drawing after lunch the pattern is ready. this pattern then gets cut out using our hot wire foam cutter like we did for the previous template.

Friday, January 23, 2015

large timber

deb and i have been busy up to the christmas break working on finishing some large timber for a public commission.


these logs have been moved numerous times by us now, and we have finally stacked them on pallets ready to move off site.


these large bits of trees have been left natural except for the ends which we painted blue, and green.
 

they will go into an interactive play area in a park area near the ocean.


this large timber is on some small wheeled trolleys that have come in handy in moving some of the really large bits if timber.
 

some bits are so big we could not even unload them from the pallets when they were delivered.
 

but some pieces that were large we have moved once or twice even more than that!


we have moved all of this timber heaps and heaps and heaps. 

  
but now it is all lined up, ready to go to site for install. i know it just looks like a bunch of wood, but we have a plan and it is going to be fun.


along with these 2 new benches we have made. install date to be confirmed. more on this project as it happens!

Saturday, November 29, 2014

working with large timber


deb and i have a new public art commission on the go. it involves working with really large timber. we started by purchasing the long timber beam on the third shelf down in the above page from our favorite salvage yard. 


then the council we are working for donated 2 large bits of tree they had cut down to the project.
 

they are massive
 

here is s photo of me next to the timber to give you a sense of scale.
 

then we were at a timber yard one day and happened across this pile of large logs. it was our lucky day because we were able to buy the wood in the above photo for $50! bargain!
 

and finally we were able to pick up this lot of wood, from a person in my neighbourhood, who had a wood pile in the front yard. we arranged to pick through and take what we wanted for $100! 


now we have all this timber sitting int he side yard at our studio ready to for us to get started.
 

the job is due in January, and we need the side yard cleared by mid February for a function we are having at the studio, so Deb and I hope that in the next 22 days before christmas break we can get most of the work on these large bits of timber done
 

then we will be ready for install in January. more on what we are using the timber for as we work on the project.

Sunday, October 12, 2014

jobs on

since my exhibition opened last month things seem to be operating at a more enjoyable and manageable pace. lets hope that this pace can be enjoyed for a while.

in the studio i have been working on a collaborative piece with a local furniture maker andrew bartlett. i am making some glass panels that will be featured on a cabinet that andrew is making.


the panels are being made from the cylinders of glass that i previously blogged about. now that the bottom and side panel has been cut away i put the cylinder in the kiln and heated it up slowly so that gravity would pull the sides down.


at the right temperature and with the right timing this flattening happens naturally and easily.


this is the controller for the kiln reading out the temperature display in celcius. these cylinders went up to about 670 degrees to get them totally flat.
 

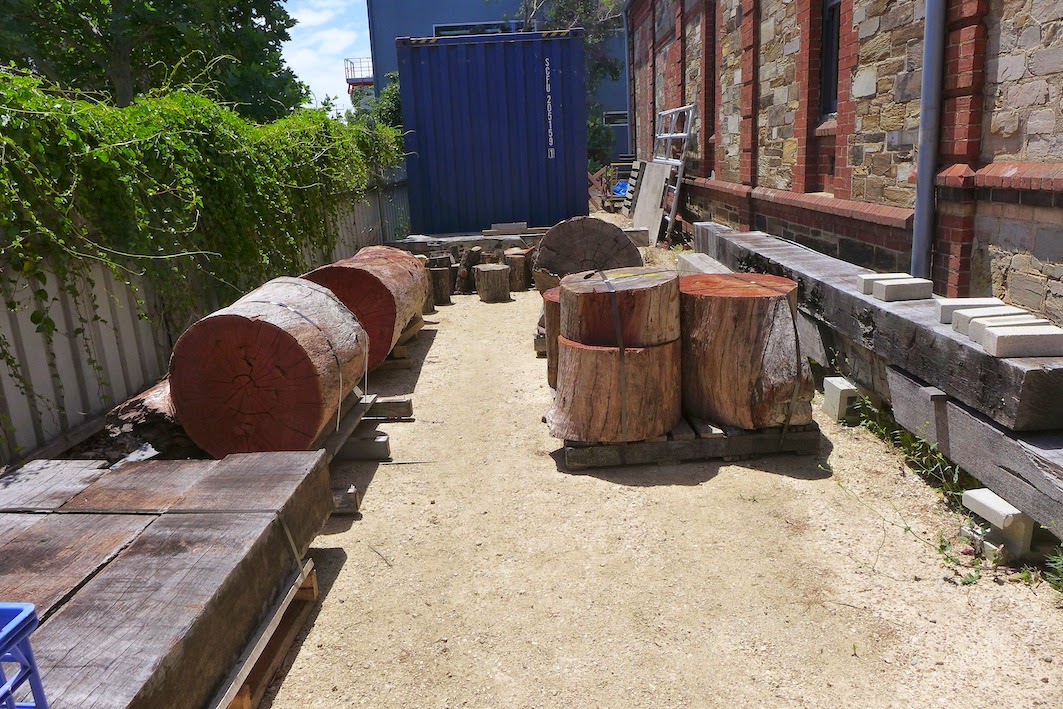
this is what they looked like the next day out of the kiln. 
 

i now have 2 large sheets of glass with a very thing top layer of black glass, backed by a slightly thicker layer of white glass on top of a very thick (about 1cm) layer of clear glass. ready for me to cut and grind the sides to an even and smooth finish. then they will be ready for me to sandblast an image into them. 

the exhibition this is going to be in opens in late november so i have some time to get this finished off.

the other part of my practice that has been keeping me busy is the public artworks.
 

the other weekend deb and i spent a long day sunday cutting an image into some pavers that will be used in a footpath in port adelaide.


this is the artwork deb and i came up with that we wanted to use for the paving.


i took the paver from the pallet and copied the section of the artwork to the paver


this then went to deb who was geared up to use an angle grinder fitted with a diamond blade to follow the lines and cut in the pattern


it was a beautiful day out, and nice to spend it outside in the noise of the angle grinder


as each tile was completed we laid it out in the driveway of the studio


it was hard to photograph but overall the image worked out quite well. there will be a few adjustments to make, after the tiles get paved into site. hopefully this happens next month some time.


deb and i have also just begun the design development phase of another public artwork.
 

we haven;t done anything like this before, so it is interesting to see how we figure things out. the oval and buckets is the layout for the artwork that will be realised in bronze, terrazzo and cast glass


there are 3 installations in the overall artwork, this will be another layout, bucket on crate on terrazzo
 

and a third one with terrazzo area with bronze beam. 
 

the bean will have a bucket sitting on a platform at the top of it. right now we are just trying to figure out proportions, and aesthetics of the objects that will be cast in bronze.

this one is going to take a while to complete.

Sunday, September 21, 2014

back to work

after my trip to melbourne for my exhibition 2 weeks ago, last week was back to work in the studio. i have some pieces to make for a group show that opens in november.


i ordered a shiny sparkly new apron from here and it makes cold working fashionable and dry. also is nice not having a strap around the back of your neck


and in the cold shop my task was to cut these large cylinders so that they are ready to go in the kiln
 

i had to extend the bed of the diamond saw out to the left to hold the size of the saw, the clamp is holding the wooden bed in place. then i had to cut the base off of the cylinders


and while i was avoiding doing this cutting on the saw, once i got started it went really well.
 

both bottoms cut off the cylinders - easy.
 

then i had to extend out the saw bed in length again so that i could cut down the length of one side of each cylinder to remove a section. this looked even scarier, but again after avoiding this task, it all went incredibly well.
 

the section that is removed from one side of the cylinder will allow me to then set the cylinder up in a kiln to slump it open.
 

a couple hours later in my sparkle apron and all the tricky saw work is done. 3 cylinders ready to go tin the kiln. more on the tricky kiln work soon.