Showing posts with label lighting. Show all posts

Thursday, February 19, 2015

conference opening party

 the theme for the conference was light, and the theme for the opening party was 
street-trash-light


here is the party in full swing, people in the yard, using the furniture we made. you can see the net lighting deb and i installed in the background.


to go with the trash theme we had been in a bin, here is deb working the taps
 

the side lane lit up with a projection of light writing and drawing
 

the shipping container with light and mirrors and disco ball
 

a time lapse projection on the back wall over the party area
 

the back tool room all lit up to create a fun vibe
 

the dance floor mid night, people are dancing away in front of a dumpster dj. again fitting the street trash theme
 

the view from the dumpster dj booth
 

towards the end of the night and people dancing with light sticks
 

towards the end of the party,the vibe slowing down.


and this is the net lighting in between the 2 buildings we installed. that is me a the party entrance, this was before the crowds arrived and the fun began.

glass conference

a week ago today was the beginning of the ausglass conference. more info on the conference can be found here.


while the conference ran over 3.5 days the preparation has been going on for well over 1.5 years.  and more specifically for our studio that hosted the opening party the preparation has been going on for about 1.5 weeks.


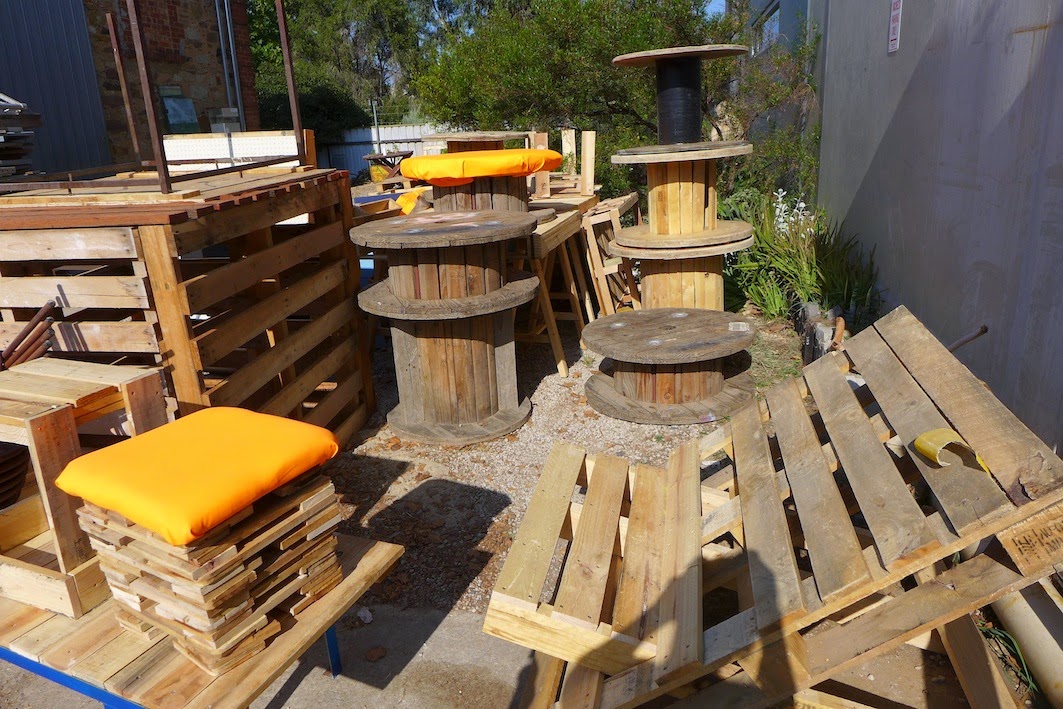
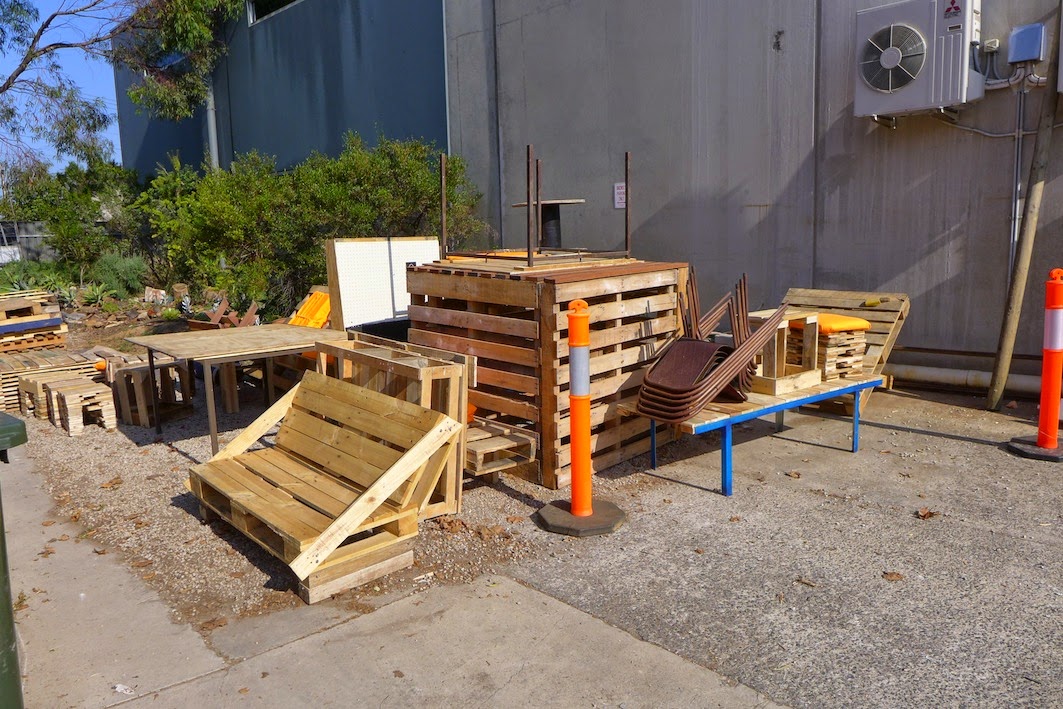
 a couple of weekends ago we had a furniture making day at the studio, making seats and tables for the opening party and conference hub. 
 

we got a bunch of great stuff made, and had a good time making it.


deb and i hired a scissor lift to install some lights at the studio for the opening party.


 this is the lane way before,


here are the lights laid out, ready for install.


and after a few hours the lights installed. (i will post them in action at the party in the next post)
 

we had to clean up the inside of the studio as well.


so we hid most things in the middle room which would be blocked off for the party.


the yard of the studio set up with the furniture we made, and an area for the catering and bar.


the view from the back of the studio looking towards the street.
 

the side lane with screen ready for projections, and fake lawn for lounging.
 

this is the furniture we made being used at the HUB of the conference in town at Lion Arts Center near the JamFactory.
 

All the talks were aired live on a screen outside so you could sit in a bean bag and drink a beer while watching the talks. very civilized.

some photos from the party to follow.

Tuesday, October 6, 2009

how to move a glass chandelier

with a truck of course! i spent the day today with my good pal deb loading up a truck with our glass chandelier and gathering what we needed to install this chandelier in an exhibition.


we loaded the chandelier up, strapped it down so it wouldn't shake too much, and then wrapped it in bubble wrap to protect it from the wind and drove slowly.


on the way we also loaded up a large beam the chandelier was going to hang from over 4 meters long from a salvage yard and a giant ladder we needed to install the work.


four or five hours after we started it was up and looked great. it will be in a group show called RUST that opens this friday as part of the Port Festival.


not one piece of glass was broken during the move.

so for all of you who asked, how are you ever gonna move that, it was simple, with a truck.

Thursday, July 30, 2009

opposite dark at day


here are some images of the group show opposite dark it was up for 3 weeks. everyone made something that used light and glass.


some were serious items and others were funny. some were even dark.


it took us 2 days to install the exhibition but only 1 hour to take it down.


i still can't pick a favorite piece.


i wish i had thought of the hanging flying bird light


and the succulent lights in the flower pots are brilliant.

opposite dark at night

well for a short while we have no internet access at home, so this means i have been getting images but have had no time to blog. so here are finally some images of the opposite dark show the studio i work in had up for 3 weeks. it is actually over now, but i think it looked good.


the show really looked its best at night. so this means that during the shop hours when people might buy something or go by to have a look the work looked ok but at night it was much more effective.


it was nice working on a group show that had the theme of light to hold all the work together. even though we all work with glass our aesthetics are very different. the theme helped by adding another layer to the cohesiveness of the group, glass and light.


some works were so simple, others complex but in the end they all sat well together. i have a hard time picking my favorite piece in this show.


party lights


here i am installing the party lights i made for the opposite dark lighting exhibition.


the party lights are an expansion of my cane cups. i used similar techniques to make the coloured glass balls that sit over each light.


to attach the balls to the string of lights i simply made a wire spring clip that sits over the string of lights and opens up inside each ball.


they didn't sell so looks like i will have them hanging in my place soon enough.

chandelier no. 1

the studio i work in had a group exhibition called opposite dark. the idea being that we all make some lighting of some sort.


this is a collaboration that myself and Deb Jones did together. It is called, chandelier no. 1. and this is it installed in the show.


here are some lovely detail shots. it looked really good even when there was no light on but only the sunshine bouncing off the glass.


watch this space for future chandeliers we have already made some components for chandelier no.2


Monday, June 29, 2009

party lights

for the past two weeks i have been making these glass cane balls instead of cups. they are to be used with the plastic lantern lights to make some fun party lights. the plastic lanterns will be removed from the string of lights and the glass balls put in their place. the show goes up next week. i will post some images of the final installation.


when you blow glass it usually is not over in the hot glass studio. most of the time you are required to do some cold working and sometimes depending on the design lots of cold working.


this was me on saturday night in my studio. grinding the puntis off of the glass balls on the water fed linisher. when it is all done they will look something like this. except hanging on the wall. fun i think.


but i do miss making cups. it was nice to learn how do a cane roll up on a colour bubble. i had never done this before and i will try to use this technique soon to make more cups.

Wednesday, June 24, 2009

the glass string chandelier

last saturday and sunday i spent 8 hours with my good pal deb working on a collaborative project. we decided to make a chandelier for the light exhibition the glass studio has coming up in two weeks time. we found the metal frame at a scrap yard, and then got to work with hot glass components.


we made the chandelier by setting up two pieces of wood to drape the hot glass strings over. the wood was set up to the same proportions as our metal frame. it took about an hour to work out exactly how we needed to do it to get it working every time.


once the glass was set we then took it off of the wood frame and moved it to the metal chandelier frame. by the end of 8 hours we were really good at this process.


at this point we thought it already looked good and we were well on our way with grand plans to make many more chandeliers. there was no stopping us. it was actually quite relaxing making the glass string components.


deb is in this frame putting in some of the final glass components, and to show the scale of the chandelier. i love how it sparkles in the light.


this is the final product. we still need to resolve the hanging system and internal lighting. the plan is to highlight the use of rusted metal with some rusted chain to hang it with and a simple over sized bulb hanging in the center.

as it turns out since then deb and i have spent the week thinking about the next one we are going to make and collecting materials for different frames. it really was nice to go from thinking about making something, and then actually making it from start to finish in roughly one day. we didn't want to get too hung up worrying about how we might move it or where it would go or how fragile it was. we just wanted to make it and see it done.

the act of making itself was just as rewarding as the finished object.